Step 1: Prepare the Supplies
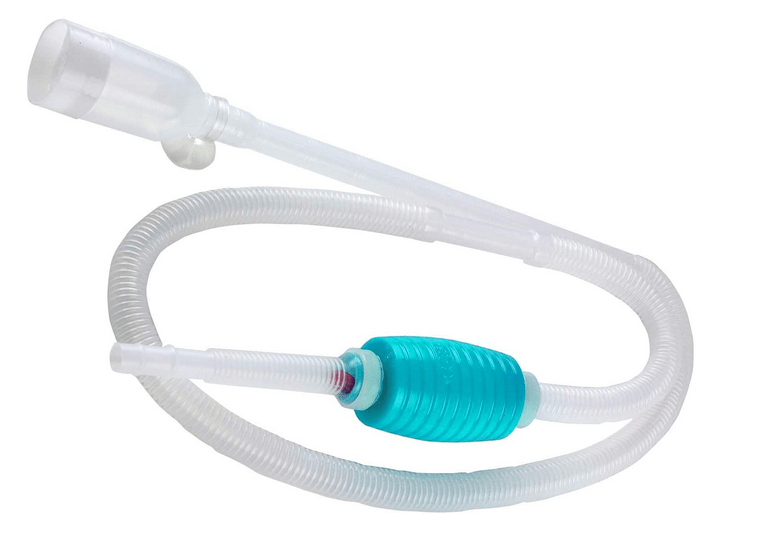
You only need an aquarium siphon (also called a gravel cleaner or “siphon”) and a bucket to absorb the dirty water. If you plan to clean several tanks, it may be easy to get a large trash can on wheels to remove some more contaminated water, but if you don’t, you’ll have to do it yourself.
The siphon aquarium consists of a plastic pipe that runs into the aquarium and a long stretchy hose that goes into a bucket. The bucket is optional as the siphons and hoses are large enough to water nearby sinks or even outdoor plants in your garden.
Step 2: Prepare the Tank
Remove all aquarium decorations from the vacuum cleaner area, as waste is often collected underneath, and remove the fish with a siphon.
It is necessary because the fishing process is more strenuous than slowly sucking fish, but it is essential.
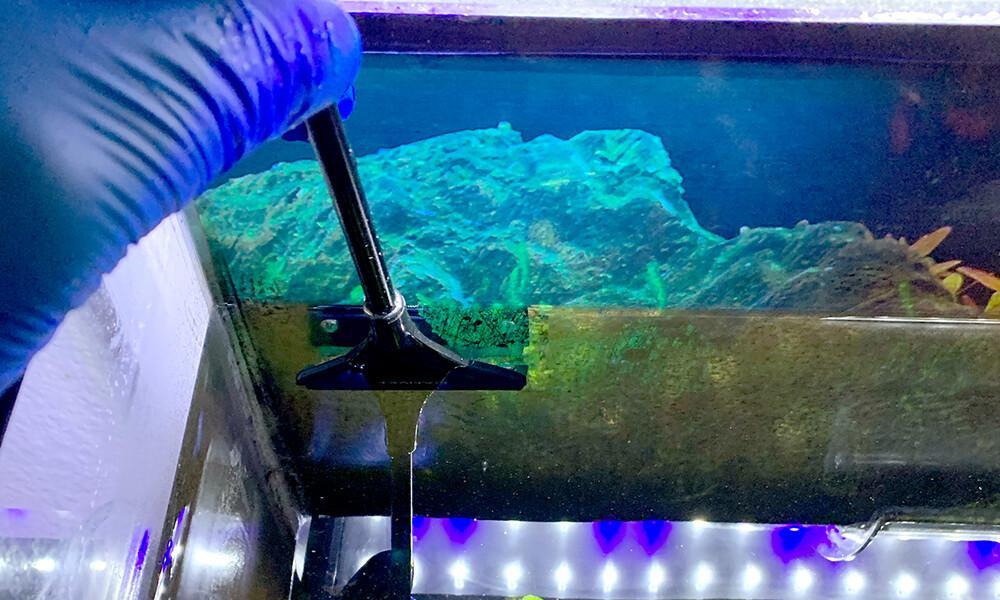
Some scrub and clean the glass with an algae scraper so that excess particles in the water have a chance to be removed with the siphon.
A magnetic algae scraper is excellent for removing algae, especially if you have a suitable blade device. Just make sure you get a glass or acrylic version that fits on the aquarium wall.

Cleansing the Inside Glass
There are a variety of algae scraper on the market, from long-handled scrubbers to magnetic scrubbers.
First, the inside of the glass is cleaned with an algae cushion and then the outside with an algae scraper.
You can buy algae scrapers at most grocery stores for $5 to $10 apiece, or even more if you can’t buy them at your local grocery store.
Although they all look the same, household liners can contain soap and chemical residues, but the rest doesn’t matter when cleaning the kitchen sink.
In case of stubborn residue on the glass, use a razor blade to scrape it off. Be careful not to cut yourself; residues can be deadly to fish, and it doesn’t matter if you don’t do that when you clean your kitchen sink.
If your aquarium is acrylic, you can use a synthetic razor blade instead of the standard razor blades, which scratch the acrylic as usual.
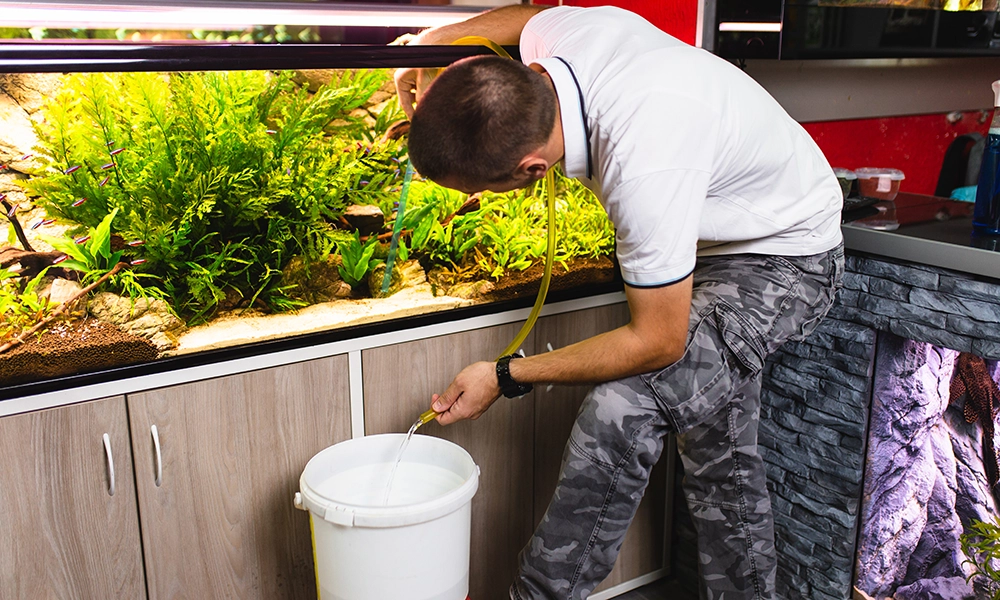
Step 3: Begin the Siphon Aquarium
Siphon Aquarium use gravity to suck water and dirt out of the aquarium and then wholly immerse the hose into the aquarium as soon as it fills with water. Before you start suction, make sure that the hose is at the end of the siphon in a bucket.
Can achieve it by holding the pipe diagonally and pointing the opening upwards, and then submerging the pipe opening so that water can continue to flow into the bucket.
If the water has run out of the hose about halfway through, dip the pipe in water and point upwards. As soon as water flows from the hose into the bucket, lift it to the edge of your aquarium and dip it in.
A siphon starter crimp or piston comes with several attachments of different sizes that fit most siphons and pipes. The pipe’s opening downwards should point to the substrate at the bottom of the tank so that the water flows freely into the bucket.
Beginning a Siphon Aquarium by Immersion
Another way to get the siphon going is to slowly lower the entire siphon into the aquarium and thus ensure that all the air is removed from the hoses.
Then you can seal one end of the tube with your finger or thumb and lower the other end into the bucket before releasing the fingers.
When you release your fingers, the water should flow into your bucket, and after a few minutes, you can lift your other ends to the tank to make sure they don’t come out with water.
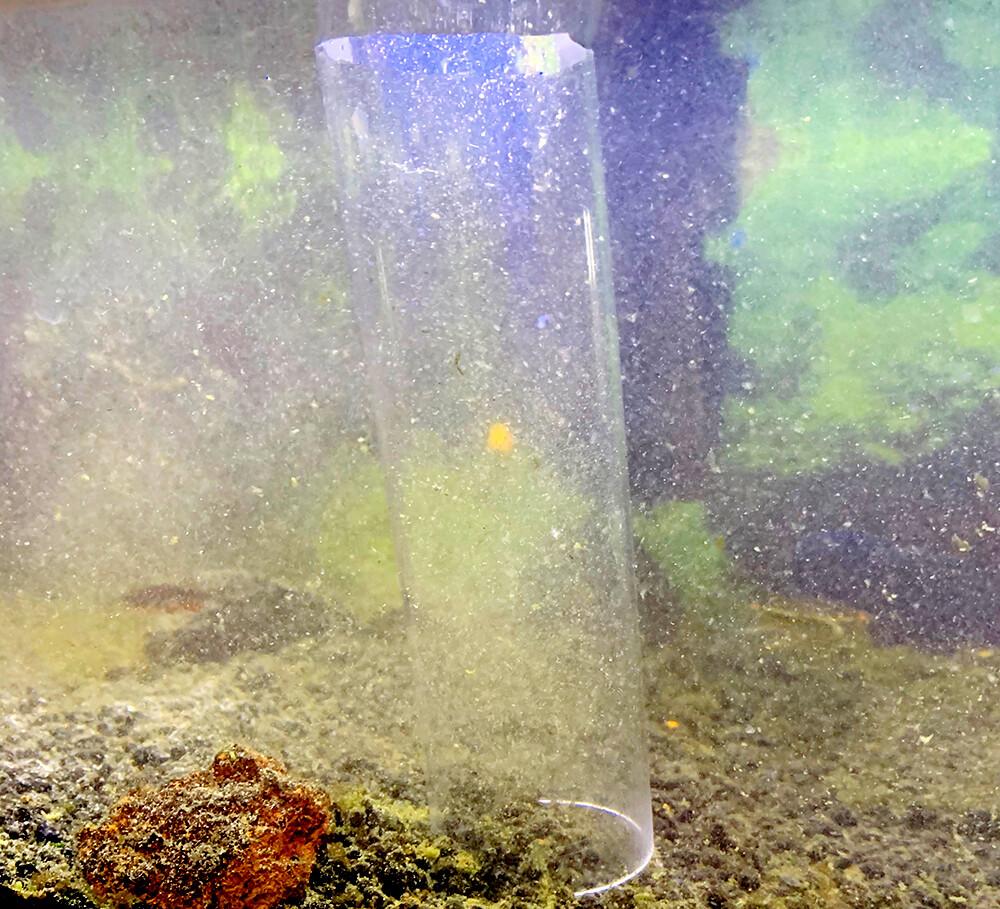
Step 4: Vacuum the Sand or Gravel
If the substrate is heavy with fish waste, press the hose until the suction stops for a short time and the other hand is not in the water. Slide the siphon into the gravel or sand and let it suck part of the substrate.
When light dirt particles are still floating in the pipe, the heavy substrate falls out of the pipes, whereby it is sucked back in by squeezing the hose.
When the soil is soaked up during mowing, the water soaks up everything, even if it is only a tiny amount.
This method cleans one-third of your aquarium substrate, and you can vacuum the next third in the aquarium at the following water change.
Cleaning Details and Stones
If the glass is clean inside, remove all artificial plants or decorations that show strong algae growth or are noticeably dirty but are not cleaned with soap or detergent.
Usually, algae and dirt are removed from rocks and plants, but even traces can be harmful to fish. It is challenging to remove the soap thoroughly and even more challenging to remove it entirely from stone or plants.
Prepare a 10% bleaching solution for particularly persistent cleaning problems and scrub off any residues. Run water, soak all parts, scrub and dry to remove the remaining bleach, then rinse and rinse.
Can also flush water mixed with a dechlorator (sodium thiosulfate) to remove the chlorine. If there is more chlorine odor, put it back in the aquarium for a few days or weeks until it is no longer toxic.
To bleach a live plant, prepare a 5% bleaching solution, soak the plant in the bleach, then rinse thoroughly. It can bleach live plants to remove algae, but the stems of the plants do not tolerate bleach.
Drain the stone decorations and plants out of the basin to suck the gravel and remove the debris you are digging with, such as sand, sandpaper, or rock.
Make sure you get a new bucket and use it only for your aquariums and clean. If you use a bucket containing soap or detergent, bring unwanted chemicals such as pesticides, pesticides, and other chemicals into the aquarium.
Step 5: Refill Your Fish tank with New, Dechlorinated Water.
Tap water is recommended because it contains trace elements that fish need, such as calcium, magnesium, iron, zinc, copper, and zinc.
RO-filled or purified water can be used instead of tap water by adding trace elements to the water to create a buffer against fine minerals.
Most states have tap water, which is ideal for freshwater aquariums, but Portland has fantastic water. However, its parameters vary greatly year-round depending on which reservoir you get the water from.
Make sure that the temperature of your new water is close to the temperature of your tank (you don’t need a thermometer to test this, but if you feel the same way, it’s probably close enough).
I recommend staying within 5 degrees of aquarium water to avoid shocking the fish and to ensure that they are closer to the temperature in the aquarium.
They are all easy to use, and the instructions should be on the back of the bottle, but be careful (if you underestimate them, you better overestimate yourself).
Add the recommended amount of chlorine and chloramine to your bucket of water and add fresh tap water and a dechlorator. It neutralizes the chlorine (chloramines) in the water, so it should neutralize them all in seconds.
Now add the water to the tank and add it slowly not to shock the fish; add the water slowly and watch your fish enjoy their nice clean aquarium.
Remove and reassemble all the decorations that have been displaced, such as the lamps and other decorations on the sides and ceiling.
Now add the water to the tank and slowly add it not to shock the fish; add the water slowly and remove all decorations from the walls and ceiling.
One of the essential measures to keep them happy and healthy and look beautiful is regular water changes. The water change is straightforward, and you can see that no equipment is needed, it is not difficult to use, and it does not take long. There is not much to it; the whole process is easy to do and does not behave much; no equipment is needed.